Politically incorrect? Guilty! Now Streaming On US Sports Radio.


- By Owen Reilly
Without a partner or mat, improving your wrestling skills can seem almost impossible. However, because of the various skills needed to succeed in wrestling, many different drills can be done at home without the need for a practice partner or a mat.
These drills, although done alone, must be done with intent and intensity to achieve the greatest improvement in your skills. In this blog, we review 5 drills that can be done alone, at home, and with minimal equipment.
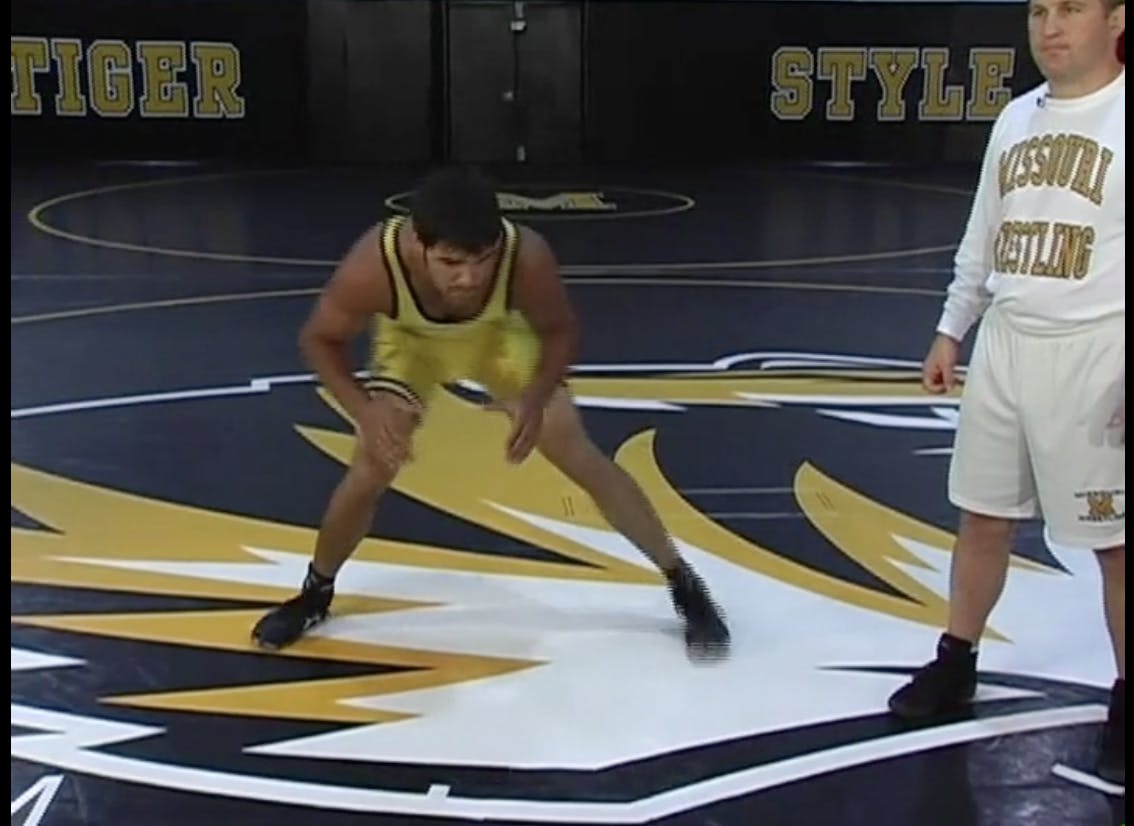
5. Stance and Motion Drill
The Stance and Motion Drill can be done anywhere, any place, and anytime. The drill involves getting into a proper wrestling stance and mirroring movements you would perform in a match. While doing this, you can also incorporate shots and sprawls to increase endurance and develop more than just your stance. This drill also allows you to work on your level-changing ability and feints. Completing several rounds of moving in your stance for 2-5 minutes with roughly 20-30 seconds of rest in between each round is a great way to prepare for and simulate matches.
4. Spin-Drills
Spin drills emulate the movements necessary to score a go-behind after a strong sprawl or snap down. To complete the drill, sprawl on a yoga ball or something similar and use your legs to continuously spin yourself around the object in a circular motion. Continue to keep your weight on the ball or object when spinning to properly simulate the go-behind. Not only does this drill improve your ability to chase the back in a front head-lock or sprawl position, but it will also greatly develop your endurance and leg strength. 30 to 90-second rounds (depending on your endurance and experience level) with 10 to 15 seconds of rest in between provides both a good workout and allows you to optimize your ‘go-behind movement.’
3. Hip-Heist Drills
These drills work the move that it is named after; the ‘hip-heist.’ To complete this drill, a wall or stationary, flat surface is required. Ideally, this would also be done on grass or carpet, but it can be done on harder surfaces if you are willing to endure a few scrapes. To perform the drill, get into a knee slide position and press your back up against a flat, sturdy surface. This mimics the pressure that an opponent will give you in a match. Once you are in this position, kick your folded knee out and flip your hits so that you are facing the wall. This drill will greatly refine your ability to escape the opponent from the bottom position while also serving as endurance training.
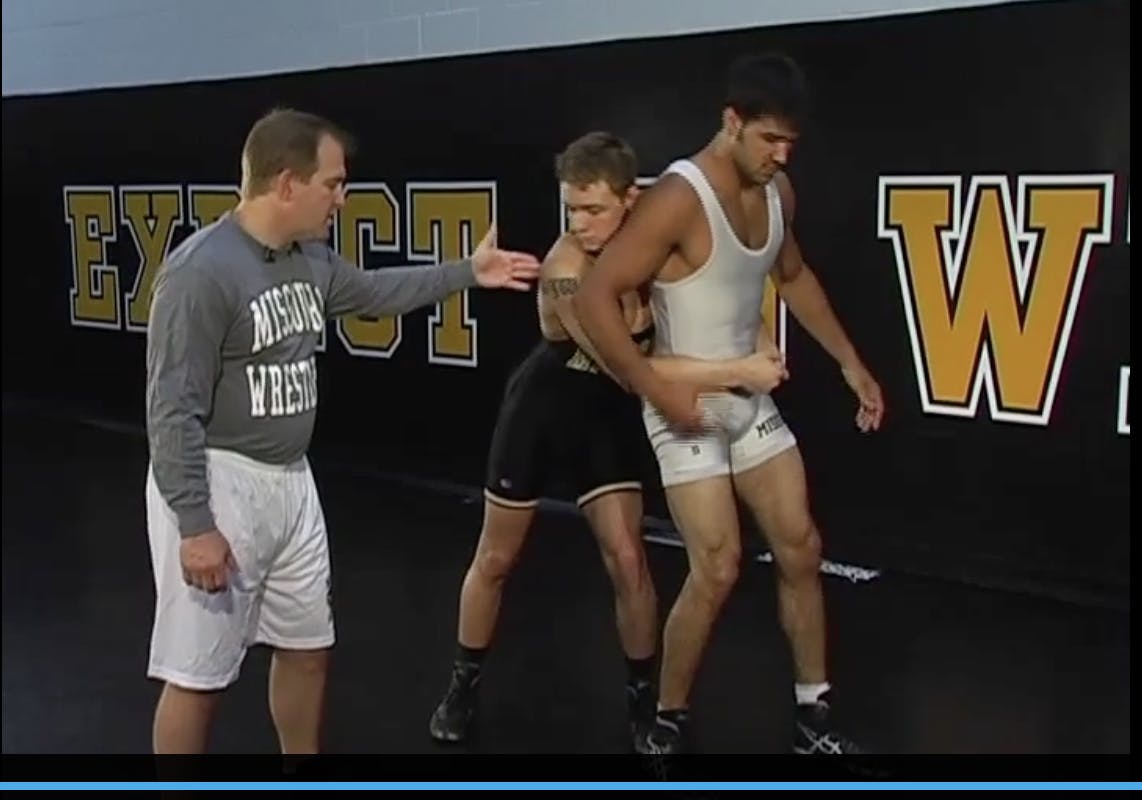
2. Stand-Up Drills
Stand-up drills allow you to work on your stand-ups from the bottom at home and without a partner. This can be done using a wall to emulate the pressure that an opponent may give or you can do this completely unassisted to work through the movements of a stand-up. To complete the drill, start in a bottom wrestling position and work to a knee slide position. Once you are here stand up and simulate fighting grips that an opponent may use to mat-return you. Finish the stand-up through and turn to face your imaginary opponent. Repeat this move several times and your stand-up ability will greatly improve. This move also works to increase your endurance through repetition.
1. Bridging Drills
Bridging, either with your neck or back, can be done from nearly any location with solid ground. Doing so imitates bridging out of a position where you are in danger of being pinned and subsequently losing the match. The drill is a simple one that consists of lying flat on your back and using your neck to lift your shoulders, back, and legs off of the ground. You should have three points of contact with the ground (your neck and two feet) with much of your weight resting on your neck. Doing so greatly increases your neck strength and flexibility. This drill is a great one to do at home and betters one of the most crucial aspects of someone's wrestling game; defense while on your back.
As stated earlier, these drills should be done intensely as you do not have a practice partner to push you. If done correctly, these drills allow you to become a better wrestler with minimal equipment at home. Utilizing these drills will give you an edge in matches and allow you to outwork those who are only wrestlers in the wrestling room. Click the link below to check out more beginner, intermediate, and advanced wrestling drills that can exponentially increase your abilities.
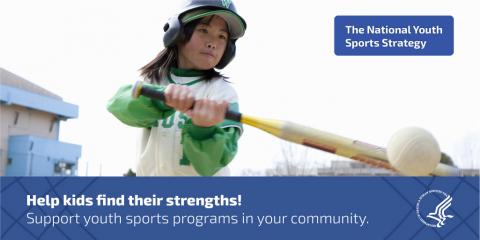
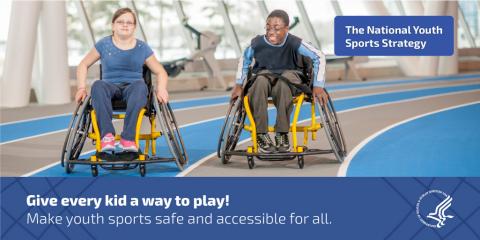
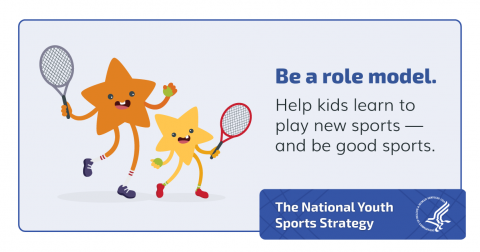
Sports help kids build confidence and grow into
healthy, active adults. Learn how organizations, communities, and
policymakers can use @HealthGov’s National #YouthSports Strategy to
support youth sports: https://bit.ly/2lQ85f6